Uncategorized
Diamond Painting for Beginners: The Complete 2026 Guide
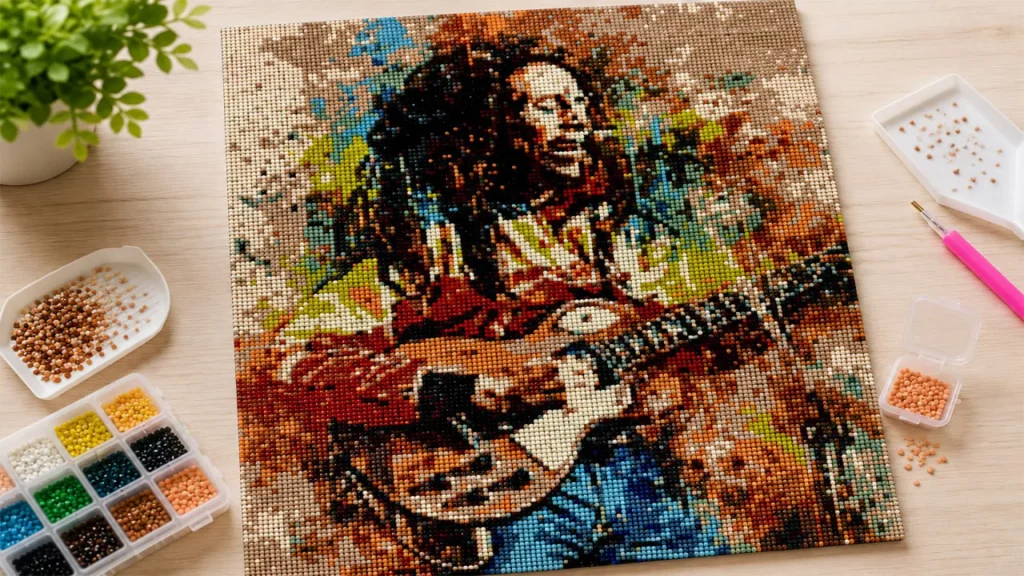
If you’ve been watching those oddly satisfying videos of sparkling canvases coming to life and wondering whether you could actually do it — you can. Diamond painting is one of the easiest, calmest crafts to pick up, and you don’t need a single ounce of artistic talent. This guide walks you through everything a complete beginner needs to start today and finish something you’ll be proud to hang.
What is diamond painting?
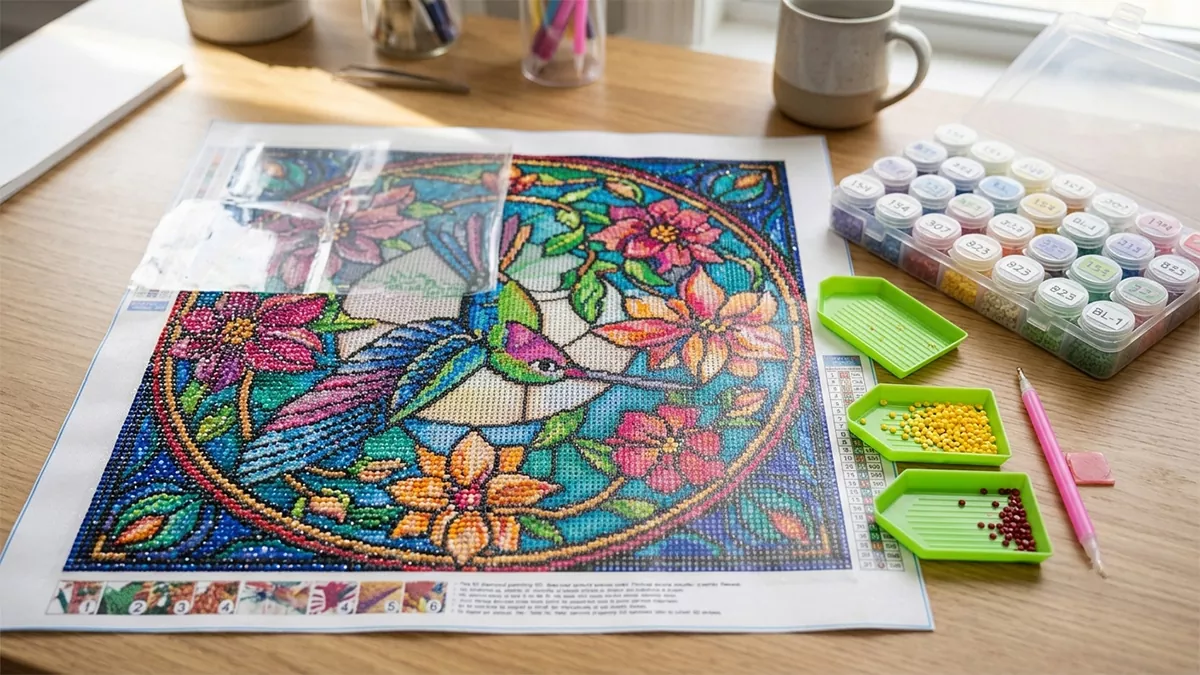
Diamond painting is a craft where you place tiny, faceted resin “drills” onto a pre-printed, colour-coded canvas. Every symbol on the canvas matches a numbered drill; as you fill each area in, a shimmering, mosaic-style picture appears. Think paint-by-numbers meets cross-stitch — but the finished piece sparkles like a gem.
You’ll see it called “5D diamond painting” or “full drill.” 5D refers to the extra facets on each drill that catch more light, and full drill means the whole image is covered in diamonds, edge to edge. If you’d like the quick visual version, our how it works page shows each step.
Why it’s easier than beginners expect
The number one thing that stops people starting is the worry that it’ll be too fiddly or that they’ll “do it wrong.” Here’s the truth: there is no wrong. You’re matching a number to a colour and pressing it down. That’s the whole skill.
- No drawing, no painting. The design is already printed for you.
- Mistakes lift right off. Placed a drill in the wrong spot? Peel it up within a few seconds and move it.
- You can stop anytime. Ten minutes or two hours — the canvas waits for you.
What’s inside a kit
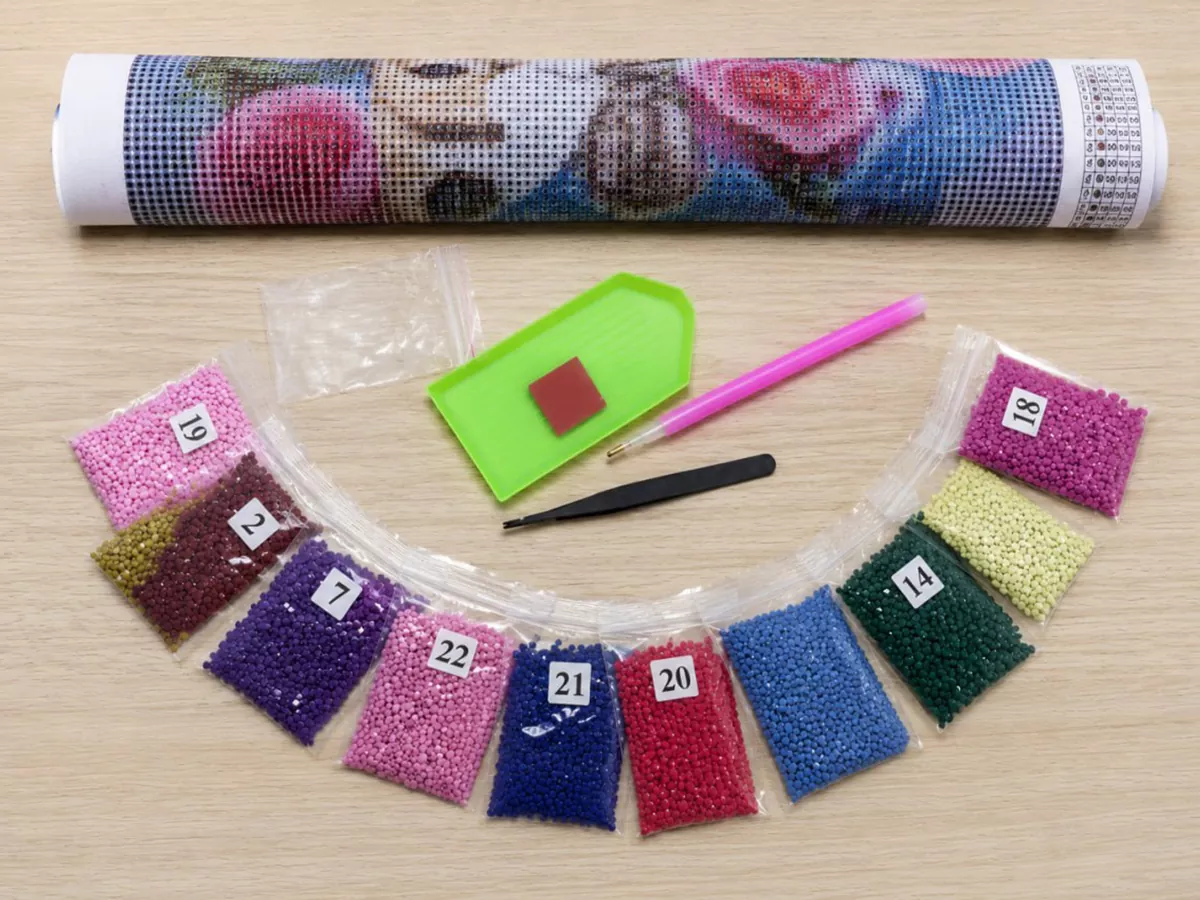
One of the best things about diamond painting is that a good kit is completely self-contained. Every 5D Diamond Painting kit includes:
- A pre-glued canvas — printed, colour-coded, and covered with a protective film.
- DMC-matched drills — numbered, bagged and sorted, with spare drills in every colour.
- A drill pen and wax — the pen picks up each drill; the wax makes it grip.
- A grooved tray — tip drills in, shake, and they line up face-up ready to lift.
- Instructions — so you’re placing drills within minutes.
That’s it. No trip to the craft store, no hidden extras.
Choosing your first kit
Setting yourself up to succeed is mostly about picking the right first project. Here’s what we tell every beginner:
| Decision | Beginner-friendly choice | Why |
|---|---|---|
| Size | Small (20×20–30×30 cm) | A quick, satisfying win instead of a marathon |
| Drill shape | Round drills | Faster and more forgiving to place |
| Design | Fewer colours, bold shapes | Less sorting, faster visible progress |
Browse our beginner-friendly collection — it’s built exactly for a confident first kit. Not sure what size to commit to? Our size guide maps every size to detail, difficulty and time.
Setting up your space
You don’t need a craft room. You need a flat surface, good light, and somewhere the tray won’t get bumped. A few small things make a big difference:
- Bright, even light — a daylight lamp helps you read the symbols and reduces eye strain.
- A firm, level table — so drills seat flat and nothing rolls.
- A comfortable chair — this is a sit-and-relax hobby; treat it like one.
The process, step by step
- Lay the canvas flat and smooth out any curl.
- Pour one colour of drills into the tray and shake gently so they sit face-up.
- Peel back a small corner of the film — only the area you’re working on.
- Wax the pen, touch a drill, and lift it from the tray.
- Press the drill onto its matching symbol. Work one colour and one small area at a time.
- Press it flat at the end and reseal any film you’re not using.
Prefer to work by number or by area? Both work — many beginners finish one colour across a section before moving on, because fewer pen swaps means faster progress.
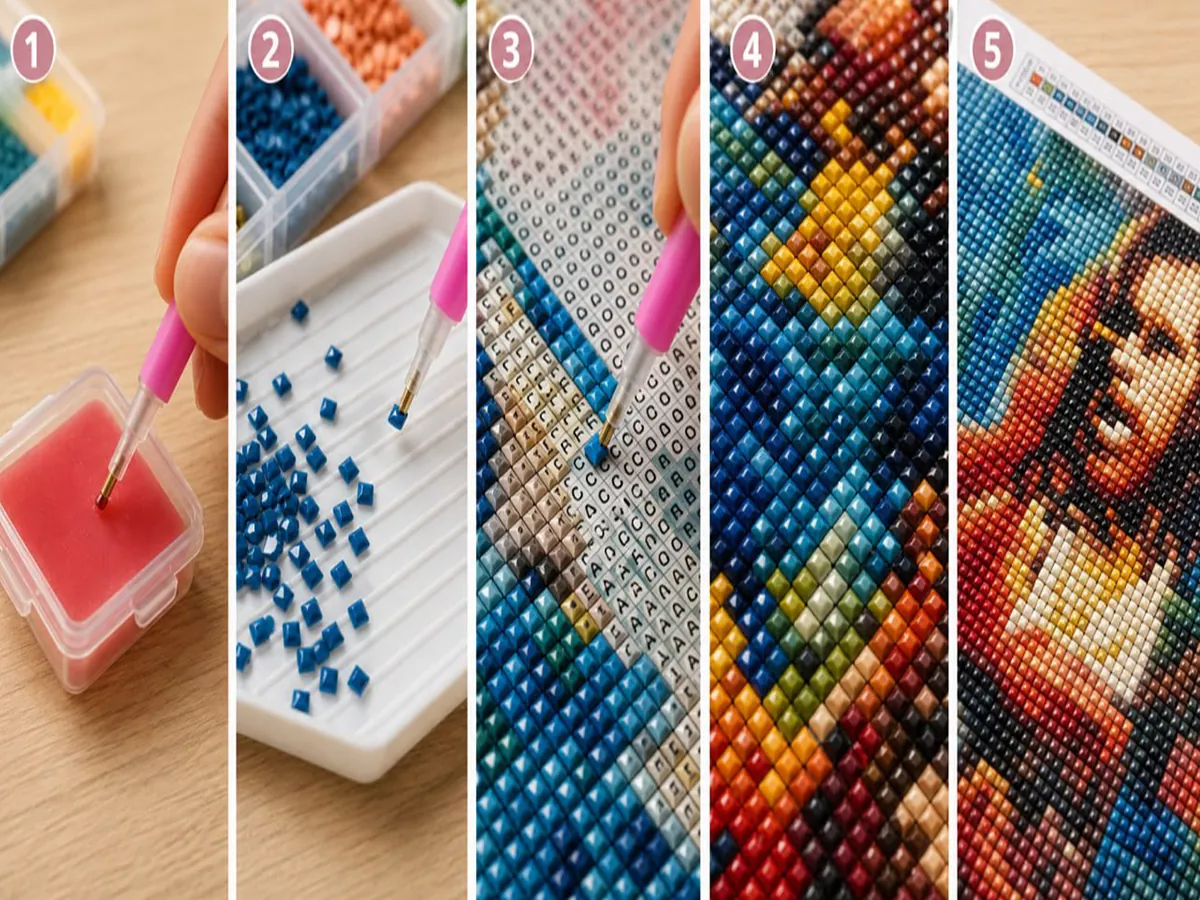
Beginner mistakes to avoid
- Peeling all the film at once. The glue dries out and drills stop sticking. Peel a little at a time.
- Too much wax. A small dab is plenty; too much leaves residue on the drills.
- Starting too big. A giant, highly detailed canvas can overwhelm a first-timer — build up to it.
- Skipping the final press. Flattening the whole canvas at the end locks every drill in for good.
Ran short on a colour? It happens even with spares. We send free replacement drills for life — just contact us with your kit and the colour number.
Beginner FAQ
How long does a diamond painting take?
A small canvas is an evening or two; a large, detailed piece can be 20+ hours across several relaxing sessions. See time estimates by size in the size guide.
Round or square drills for beginners?
Start round — they’re the most forgiving. Square drills give a crisp, gap-free finish once you’ve found your rhythm.
Can I frame it when I’m done?
Absolutely, and you should — full-drill pieces look like real wall art. Read our framing guide next.
Ready to start your first kit?
Pick a design you’ll love looking at every day. Beginner-friendly sizes, DMC-matched drills, and everything you need in the box.
Shop Beginner Kits
Discover Our Most Loved Kits
Extra Fine Pen For 5D Diamond Paintings
25.68 €Original price was: 25.68 €.19.66 €Current price is: 19.66 €.Diamond Painting Kit Paw Patrol | Premium DIY Artwork
Kentucky Wildcats Basketball Team – Diamond Paintings
Arkansas Logo – Diamond Paintings