Uncategorized
Diamond Painting Storage: How To Store Your Kits the Right Way
Most people do not think much about storage when they first start diamond painting. At the beginning, there is usually only a canvas, a few tools, and some small bags of drills sitting on a table, so keeping things organized does not seem like something worth worrying about. That changes after a few projects. Extra drills begin collecting in drawers, unopened kits start stacking up, and active projects slowly take over desks, shelves, or whatever empty space happens to be available. At some point, many people realize they are spending more time searching for supplies than they expected.
Good diamond painting storage is not about creating a perfect setup with expensive organizers and labeled containers everywhere. It is simply about keeping your kits protected and making it easier to return to your next project without unnecessary frustration. This guide covers how to store unopened kits, how to protect active projects between sessions, and what to do with finished artwork before it reaches the wall.
Storing Unopened Diamond Painting Kits
If you have kits waiting for later, storing them properly helps keep everything in good condition until you are ready to start. Keeping kits flat is usually the easiest option because it prevents unnecessary bending and reduces the chance of stronger creases forming in the canvas. Drawers, shelves, storage containers, or large folders often work well if you have enough room available.
If storage space is limited, standing kits vertically inside magazine holders or document organizers can also help keep things organized without folding the canvas. It is also worth paying attention to where the kits are stored. A dry area away from direct sunlight is usually best because excessive heat or humidity may affect the adhesive and canvas material over long periods of time.
Storing a Diamond Painting Between Sessions
Most diamond paintings are not finished in one sitting, especially larger designs that can take days or even weeks to complete. During that time, storing the project properly helps keep the canvas clean and prevents unnecessary damage. The adhesive surface is usually the first thing worth protecting. If the original protective sheet is still available, placing it back over sections that are not being worked on helps keep dust and small particles away. Many people also use release paper because it can be removed and reused more easily throughout the project.
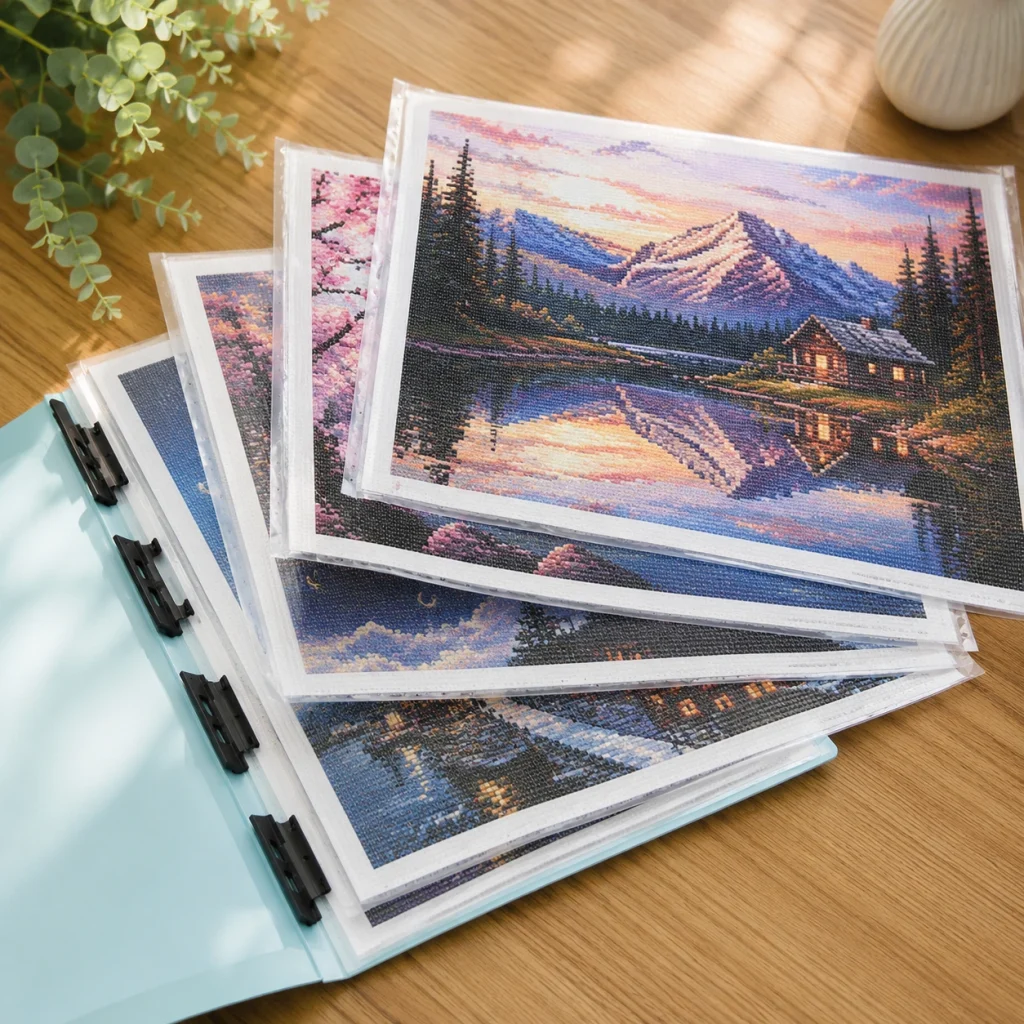
If you need to put the painting away between sessions, keeping it on a flat surface is usually the safest option. Sliding it into a large art folder, placing it under a bed, or storing it on a shelf can help protect it without creating additional folds. The goal is simply making sure the project looks exactly the same when you come back to it later.
Keeping Drills and Tools Organized While Working
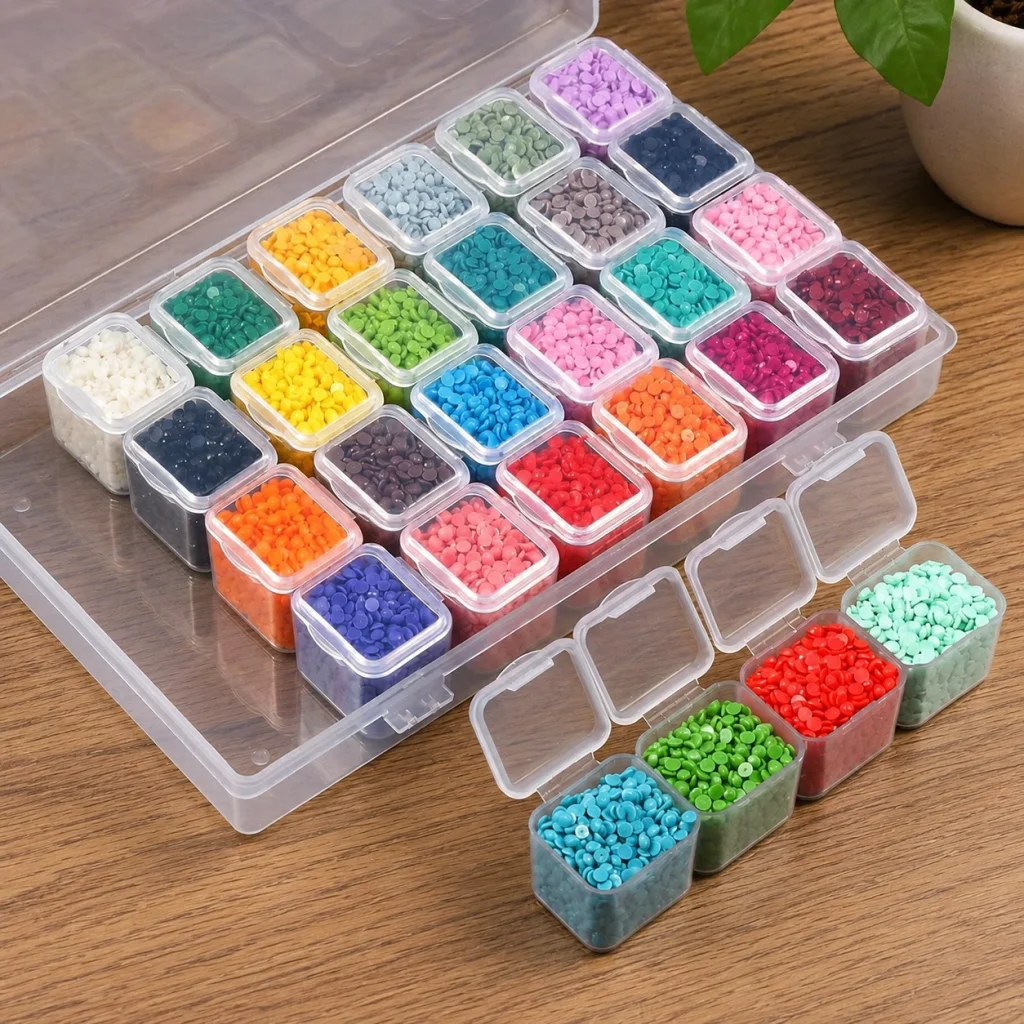
Once several colors are open at the same time, things can become messy surprisingly quickly. Many people begin by using the small bags that come with the kit, which works perfectly fine in the beginning. After a while, though, opening and closing multiple bags every session can become inconvenient, especially when several projects are involved.
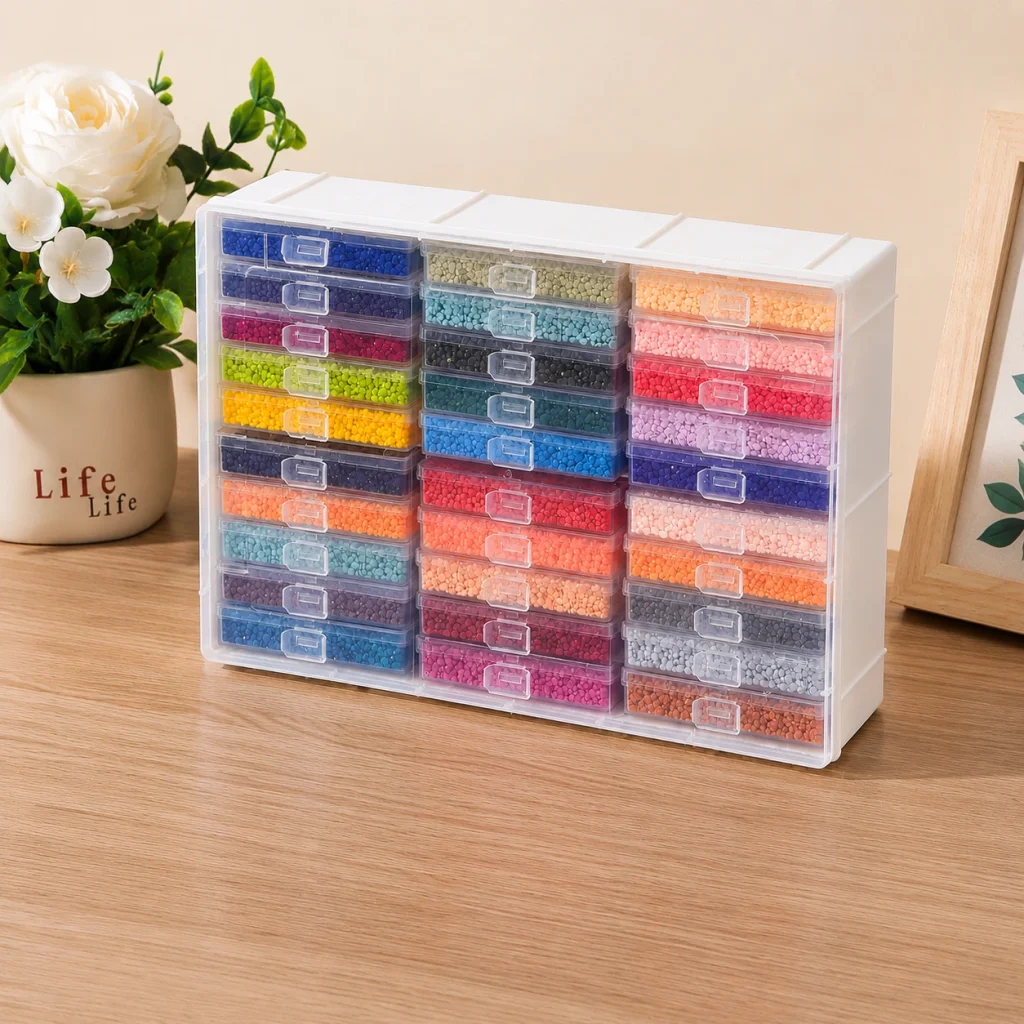
Storage containers with small compartments are popular because they keep drills separated and easier to find. Others prefer labeled bags, small boxes, or simple containers they already have at home. The same idea applies to tools. Keeping trays, pens, wax, and tweezers together in one place makes starting the next session much easier.
You do not need an elaborate setup for this. Most people gradually create a system that works naturally for them.
Long-Term Diamond Painting Storage for Kits and Supplies
As collections grow, storage methods usually change with them. Someone with two or three kits rarely stores supplies the same way as someone with twenty waiting for future projects. Over time, people often adjust their setup based on available space and how frequently they work on diamond paintings.
For long-term diamond painting storage of unopened kits and supplies, keeping everything away from direct sunlight, excessive heat, and humidity is usually a good idea. These conditions may affect adhesive surfaces and materials if they remain exposed for long periods. Simple storage methods often work perfectly well. Shelves, drawers, containers, and organizers can all do the job as long as supplies stay protected and easy to access.
Waiting to Frame It? Store It the Right Way
Not every finished diamond painting goes directly onto a wall. Sometimes there is no available space yet, or you may want to wait before deciding where the artwork belongs. During that time, storing finished pieces correctly helps preserve all the work that went into them. Keeping finished artwork flat is usually the safest option. Large art portfolios, shelves, or protected flat spaces can help prevent pressure from building on the drills.
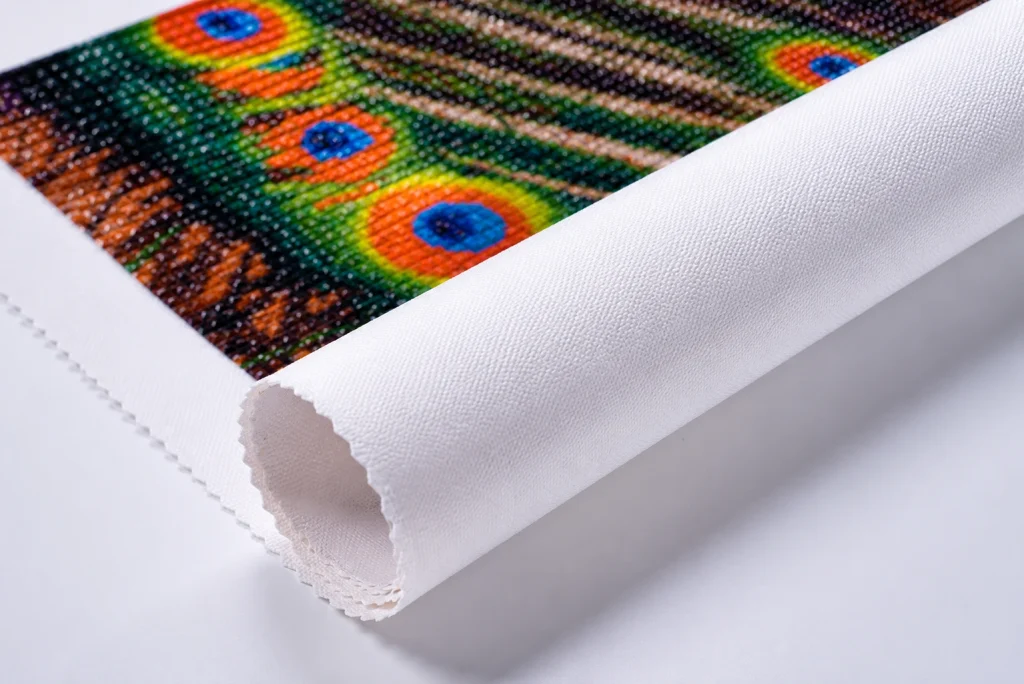
If flat storage is not possible, rolling the artwork can also work, but the direction matters. Rolling with the drills facing outward usually creates less pressure than rolling inward toward the surface. It also helps to avoid placing heavy objects on top of finished paintings while they are waiting to be displayed. Small amounts of pressure over time can affect the surface more than people expect.
Final Thoughts
Good diamond painting storage does not need to feel complicated. Most people gradually build a setup that fits their space and habits instead of creating a perfect system from the beginning. The important part is keeping kits, tools, and artwork protected so everything is ready whenever inspiration decides to show up again.
Discover Our Most Loved Kits
Extra Fine Pen For 5D Diamond Paintings
29.85 $Original price was: 29.85 $.22.85 $Current price is: 22.85 $.Diamond Painting Kit Paw Patrol | Premium DIY Artwork
Kentucky Wildcats Basketball Team – Diamond Paintings
Arkansas Logo – Diamond Paintings