Uncategorized
How to Frame a Diamond Painting: 6 Easy Methods (2026)
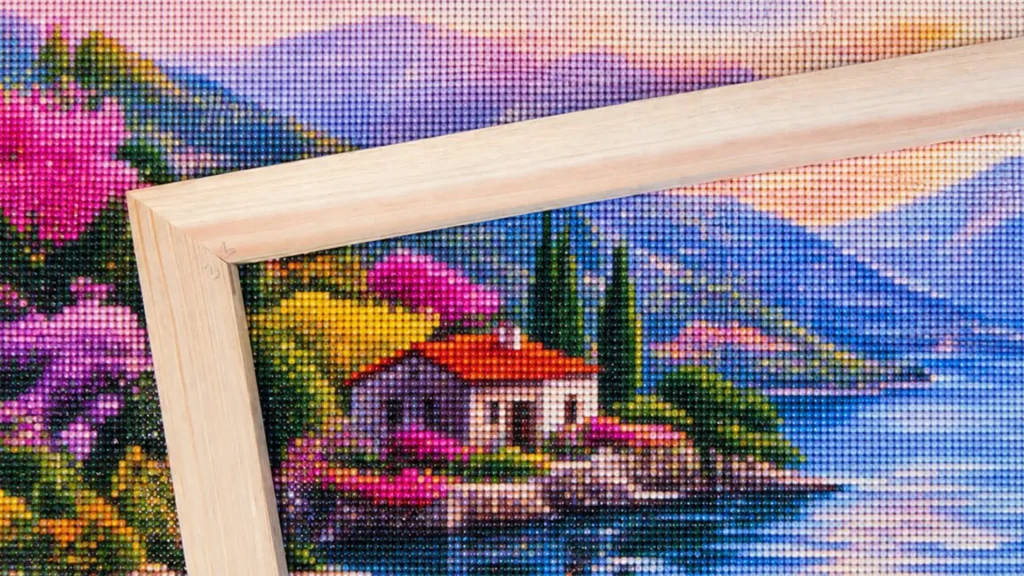
You spent hours placing thousands of sparkling drills — don’t let that masterpiece live rolled up in a drawer. Framing a diamond painting is simpler than most people think, and the right method turns your finished canvas into a piece that looks like it came from a gallery. Here’s exactly how to do it, step by step.
Step 1 — Flatten and clean your canvas
Before anything else, get the surface flat and even. Lay the finished piece drill-side up on a hard surface, place a clean towel or sheet of baking paper over it, and press firmly with a rolling pin or a heavy book. This seats any lifting drills back into the glue.
Then gently brush away dust or stray wax so the facets catch the light. A soft, dry brush is all you need.
Step 2 — Decide whether to seal it
Sealing is optional, and it’s a genuine trade-off:
- Seal it for extra hold and a locked-in surface — good for high-traffic rooms or pieces you’ll handle a lot. A brush-on sealer or spray works.
- Skip sealing if you love the raw, maximum sparkle — some sealers slightly dull the shine, and unsealed drills stay brilliant.
Our take: if you’re framing behind glass or with stretcher bars, you usually don’t need to seal at all — the frame protects it. Save sealing for unframed or heavily handled pieces.
Step 3 — Measure carefully before buying anything
The most common framing mistake is ordering a frame before measuring. Diamond painting canvases are often a non-standard size, and the printed image sometimes has a border you’ll want to trim or hide. Measure the drilled area you want visible, not just the canvas edge, and note it down before you shop.
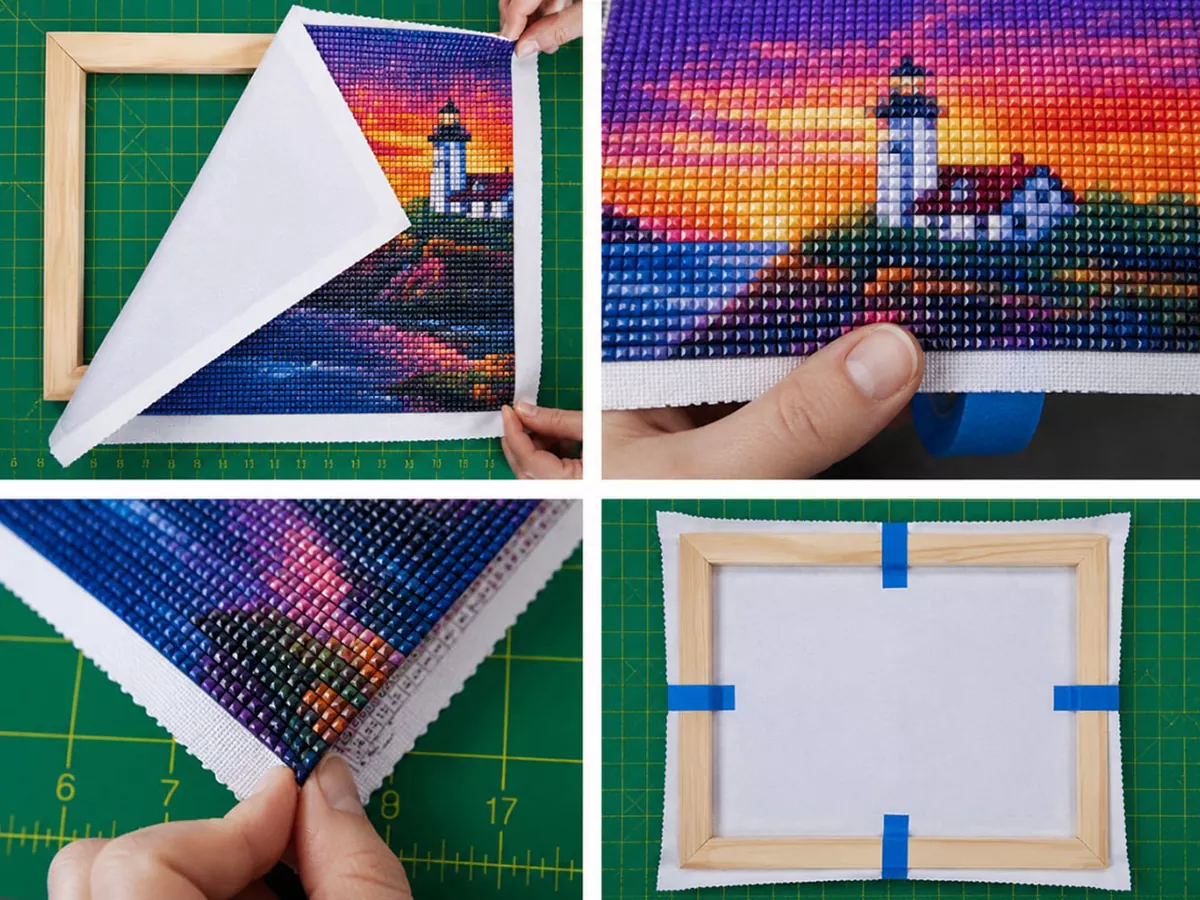
Step 4 — Choose your framing method
| Method | Best for | Notes |
|---|---|---|
| Traditional frame | Small & medium pieces | Easiest option; trim canvas to fit a standard frame |
| Frame with glass | Protection in busy rooms | Guards against dust; can slightly reduce sparkle |
| Stretcher bars | A gallery, borderless look | Most popular for large pieces; no glass needed |
| Float / magnetic frame | Quick, no-commitment display | Fast to swap; great for rotating a collection |
Need supplies to finish the job? Browse our accessories collection for pens, trays and finishing tools.
Step 5 — If you use stretcher bars, work from the centre
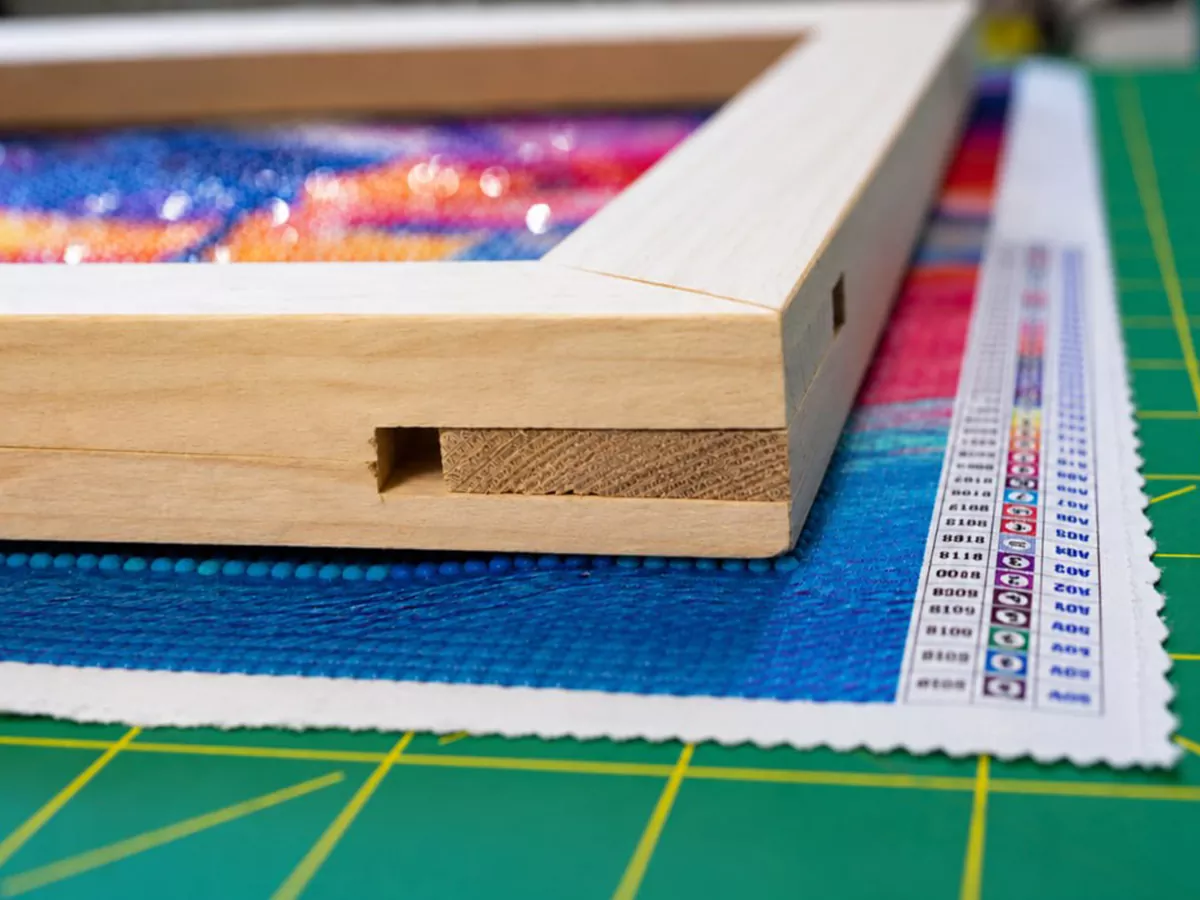
Stretcher bars give that clean, borderless gallery look, but even tension is everything. Attach or staple the canvas at the centre of each side first, then work outward, alternating sides as you go. This keeps the image square and prevents puckering or a wavy surface.
Step 6 — Mount it and display it
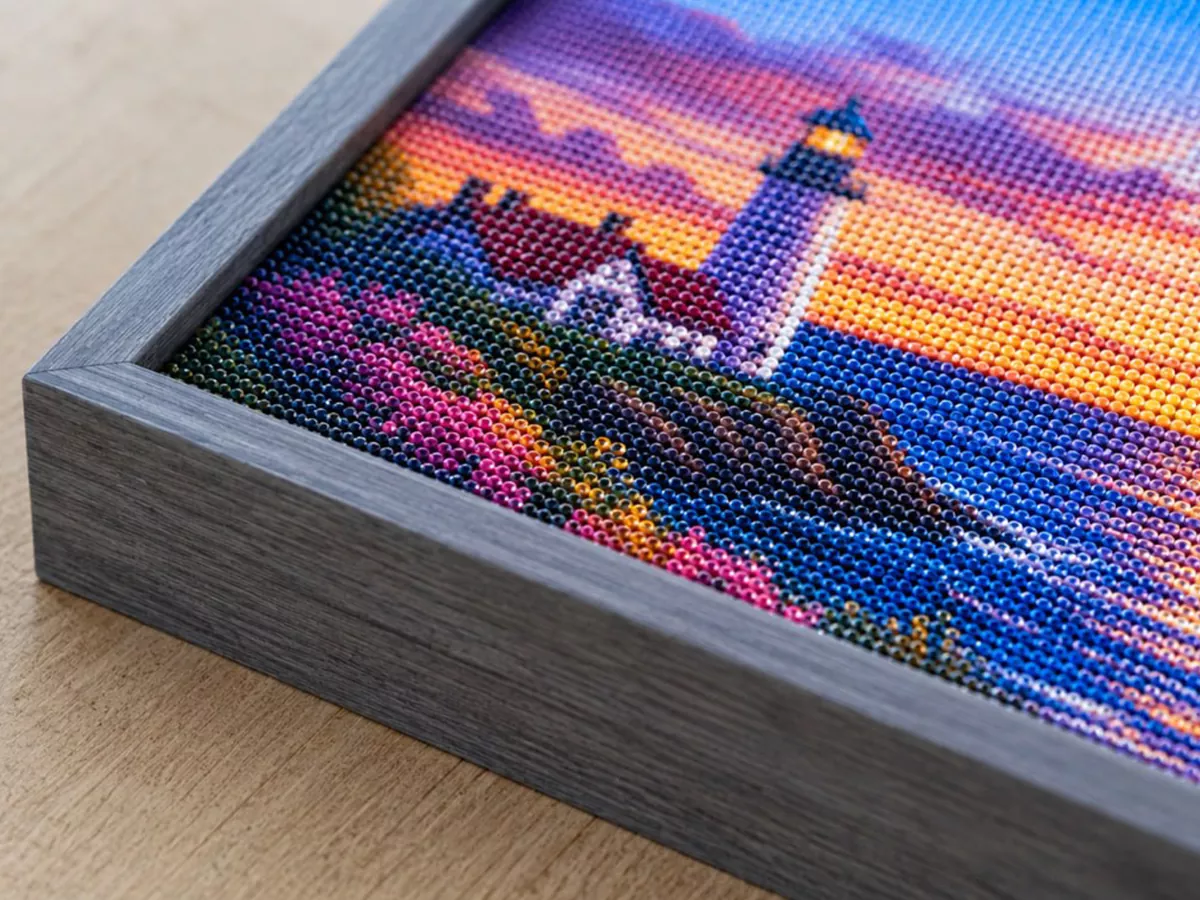
Place the artwork into your chosen frame, double-check it’s straight with even borders, and secure the backing. Then hang it where the light will move across it during the day — that’s when the facets really come alive.
Common framing mistakes to avoid
A few small errors trip up most first-time framers. Sidestep these and your finished piece will look professionally done:
- Buying the frame first. Always measure the drilled area before you shop — diamond painting canvases are rarely a standard size.
- Framing before flattening. Loose or lifting drills locked under glass look uneven forever. Press the canvas flat first.
- Uneven tension on stretcher bars. Stapling one side fully before the other causes puckering. Always work centre-out, alternating sides.
- Trapping moisture under glass. If you seal and frame behind glass, let the sealer fully cure first so it doesn’t fog the glass.
- Skipping a border. A slim mat or border gives the piece room to breathe and hides any uneven canvas edge.
How to display it without a traditional frame
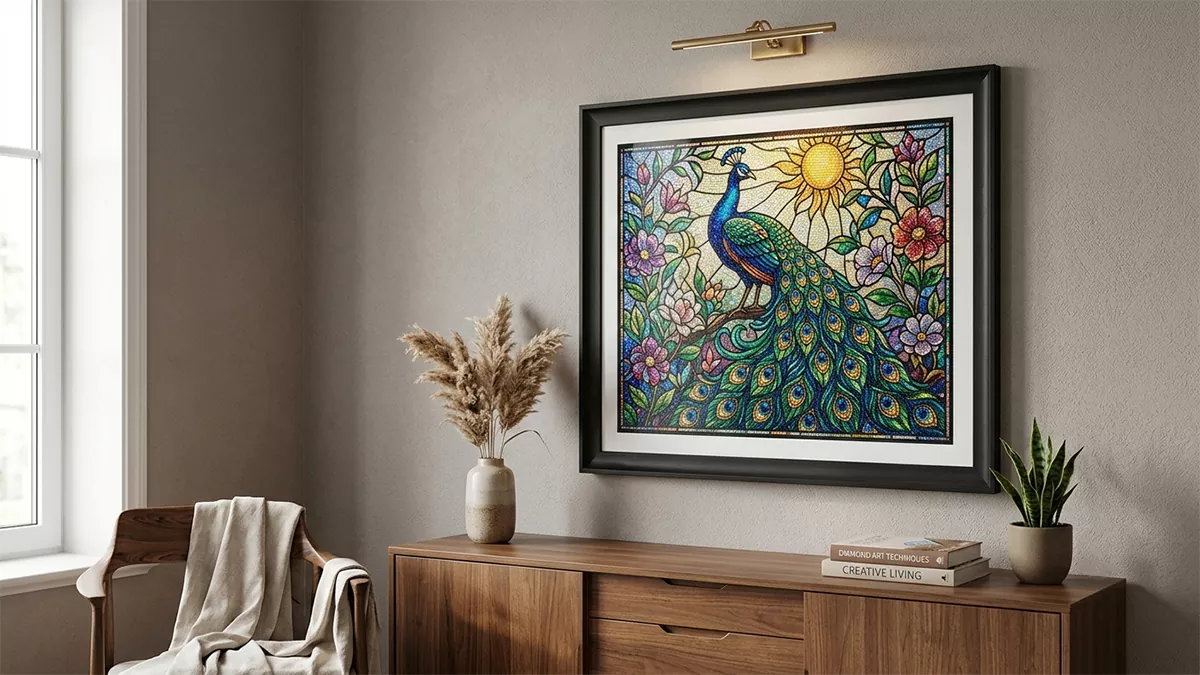
Not every piece needs a frame, and some of the most striking displays skip one entirely. Stretcher bars give a clean, borderless canvas-style look that’s ready to hang straight away. Adhesive hanging strips or a slim wooden poster hanger work beautifully for lighter pieces. You can even lean smaller finished works on a picture ledge or shelf and rotate them with the seasons — a low-commitment way to keep your walls feeling fresh. However you show it off, position it where daylight moves across the surface during the day; that shifting light is what makes the facets sparkle and sets diamond art apart from a printed poster.
Need a piece worth framing?
Full-drill canvases and DMC-true colour mean your finished art reads sharp on the wall. Start something new — or turn a favourite photo into a custom keepsake.
Create a Custom Piece
Discover Our Most Loved Kits
Extra Fine Pen For 5D Diamond Paintings
29.85 $Original price was: 29.85 $.22.85 $Current price is: 22.85 $.Diamond Painting Kit Paw Patrol | Premium DIY Artwork
Kentucky Wildcats Basketball Team – Diamond Paintings
Arkansas Logo – Diamond Paintings