Uncategorized
Diamond Painting Storage: How to Store Kits & Drills the Right Way
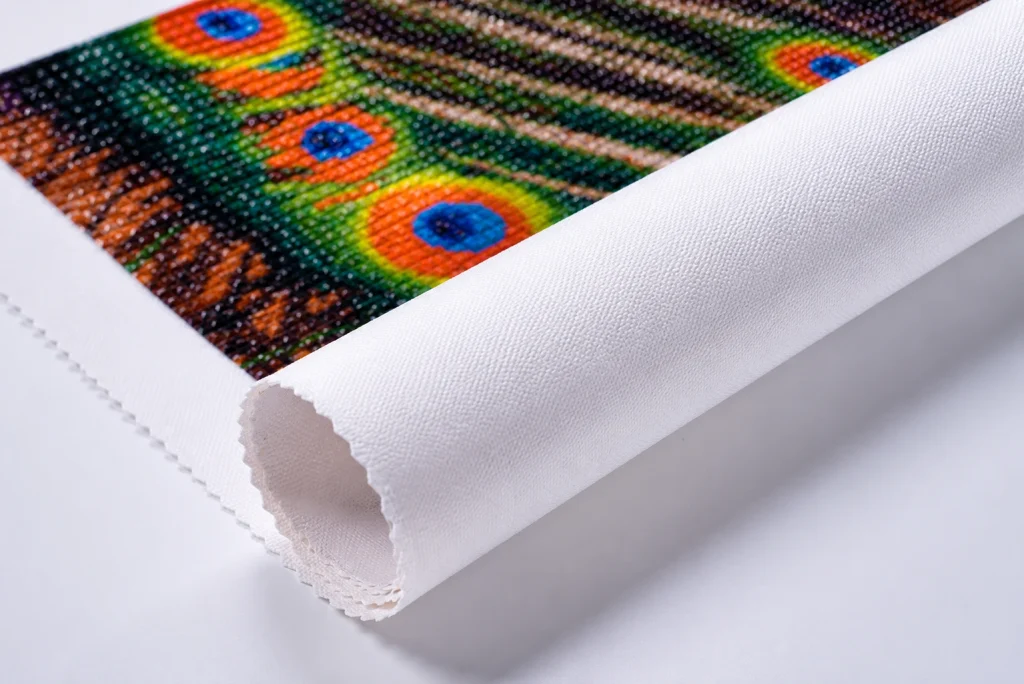
Once you’re a few kits in, storage quietly becomes the thing that makes or breaks the hobby. Spilled drills, curled canvases and half-finished projects shoved in a drawer take the calm right out of it. The good news: great diamond painting storage isn’t about expensive organizers — it’s about a few simple habits that protect your kits and keep everything easy to find.
Storing unopened kits
An unopened kit is easy to protect if you remember two enemies: moisture and pressure.
- Store flat, never folded. A creased canvas is hard to work on later — lay kits flat or roll loosely, drill-side out.
- Keep them dry and shaded. A closet or drawer beats a garage or loft, where humidity and temperature swings can weaken the adhesive.
- Don’t stack heavy things on top. Pressure can dent the canvas or crush drill bags.
Storing a diamond painting between sessions
The trick with an active project is protecting that sticky canvas so it stays tacky until your next session:
- Fold the original release film (or a sheet of parchment paper) back over the exposed glue before you set it aside.
- Roll larger canvases loosely around a tube, drills facing outward, so nothing gets crushed.
- Store it flat if you have room — the less handling, the better.
Keeping drills and tools organized while you work
This is where a little system pays off every single session. Loose drills in the wrong bag are the fastest way to lose momentum.
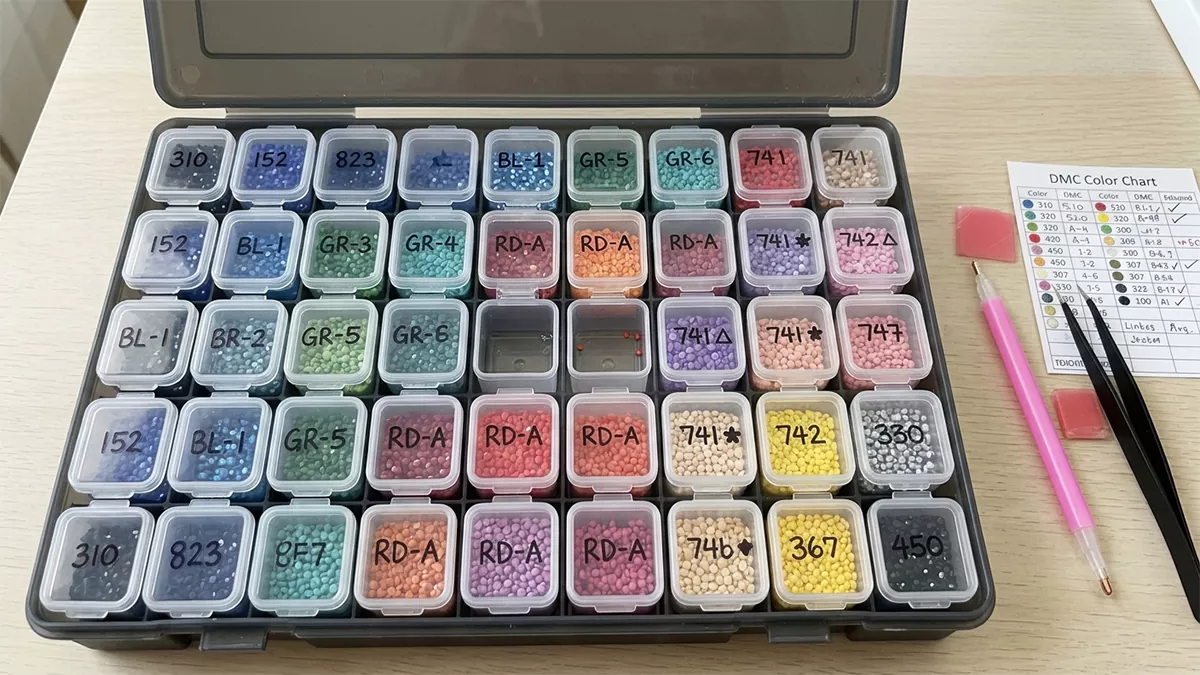
- Use small containers or a grid storage box with a slot per colour, each labelled with its DMC number.
- Label as you go — future you will thank you when a kit shares colours.
- Keep pens, wax and trays together in one caddy so setup takes seconds.
You’ll find grid boxes, pens and trays in our accessories collection.
Long-term storage for kits and supplies
For kits you’re saving for later, think of them like any art supply:
- Cool, dry and out of direct sunlight — UV can fade a printed canvas over months.
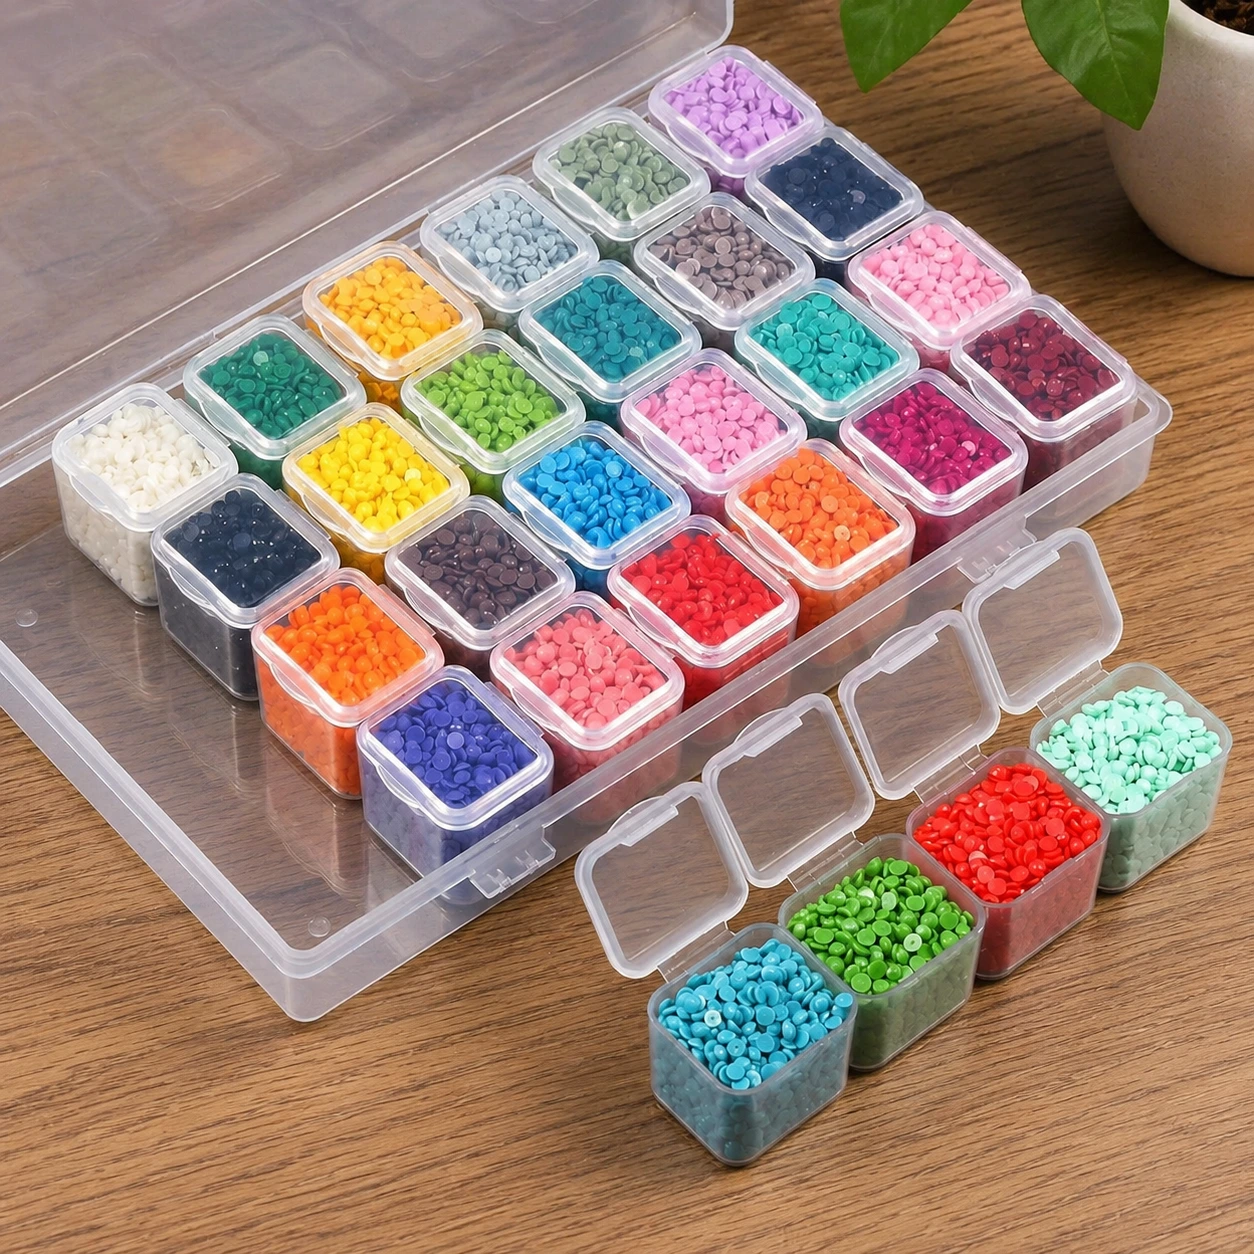
- Sealed containers keep dust and humidity out.
- Keep leftover and spare drills labelled; they’re perfect for touch-ups down the line.
Waiting to frame it? Store finished art the right way
A completed piece deserves care until it’s on the wall. Store it flat if possible. If you must roll it, roll loosely with the drills facing outward so they aren’t pressed against each other. Avoid leaving finished pieces under books or in a hot car, where drills can loosen.
Ready to display it instead of storing it? Our framing guide walks you through it.
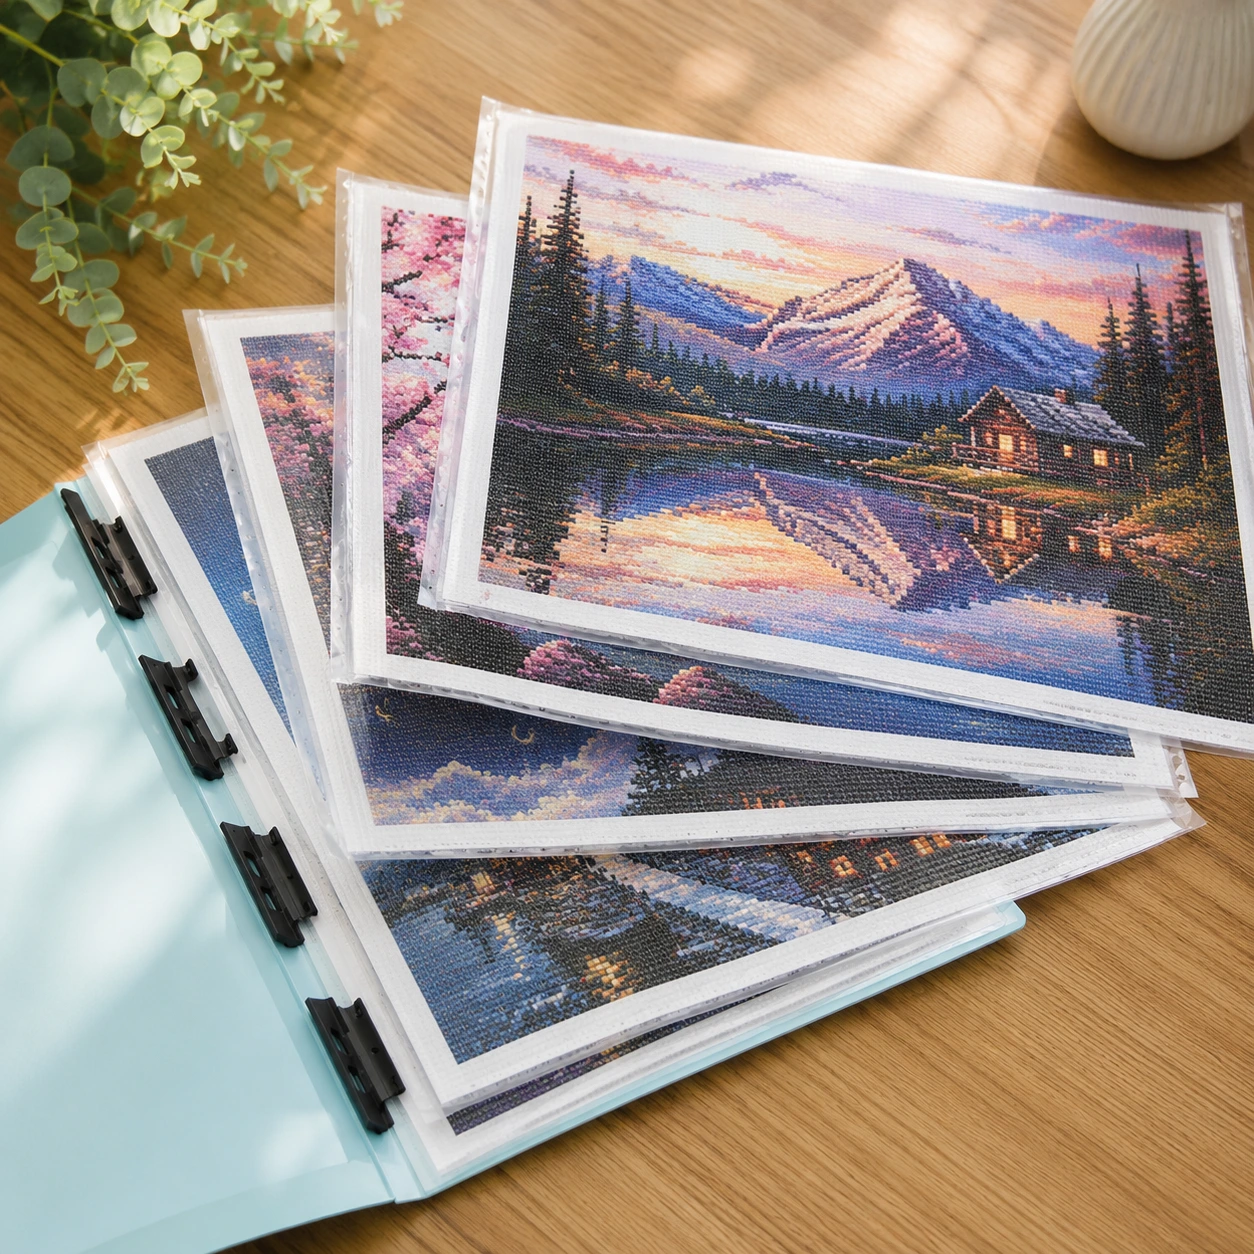
Storing a growing collection
Once you’ve got several kits on the go and a shelf of finished pieces, a little structure keeps the hobby feeling calm instead of cluttered. A few habits that scale well:
- One box per active project. Keep each work-in-progress with its own drills, chart and tools so nothing gets mixed up between kits.
- A single “master” drill library. Because our drills are DMC-matched, leftover colours from finished kits can be pooled by number and reused for touch-ups on future projects.
- Label everything. A quick label on each container — colour number, kit name, or “finished” — saves minutes every session.
- Store finished pieces flat and stacked with a sheet of parchment between each, until you’re ready to frame them.
Storage mistakes that quietly ruin kits
Most damaged kits aren’t unlucky — they’re stored badly. Watch out for the big three:
- Heat. A hot loft, garage or car softens the canvas glue and can loosen placed drills. Keep kits somewhere room-temperature.
- Humidity. Damp weakens adhesive and can warp a canvas. A sealed box with the lid on beats an open shelf in a bathroom or basement.
- Sunlight. Months of direct sun can fade a printed canvas before you’ve even started it. Store shaded, and hang finished pieces out of harsh direct light.
Get those three right and a kit will wait patiently for years until you’re ready for it.
Stock up and stay organized
Grid boxes, pens, trays and more — the little tools that make every session smoother.
Shop Accessories
Discover Our Most Loved Kits
Extra Fine Pen For 5D Diamond Paintings
29.85 $Original price was: 29.85 $.22.85 $Current price is: 22.85 $.Diamond Painting Kit Paw Patrol | Premium DIY Artwork
Kentucky Wildcats Basketball Team – Diamond Paintings
Arkansas Logo – Diamond Paintings